How to Take Better Photos with a Smartphone
For the longest time, serious photography was reserved for those who could stride around with a decent Digital Single Reflex (DSLR) Camera.
If you wanted a camera phone, you had to be content with the miserable VGA-type shooters on your Motorola flip phone.
Today, things have changed drastically. Although DSLR cameras are still at the apex of professional picture-taking, smartphone camera technology has advanced enough to equal and even surpass the quality offered by some DSLR heavies.
The recent influx of mobile photo-sharing and photo-editing apps has made the smartphone the most popular camera globally. However, when it comes to photography, no smartphone can effortlessly give you the moon and the sun.
Even the best handsets on the market will require that you do more than just touch the shutter button to achieve consistent quality.
Nevertheless, following these nifty tips will greatly improve your photography, regardless of your smartphone.
How to Take Better Photos with Smartphone: Get around the settings

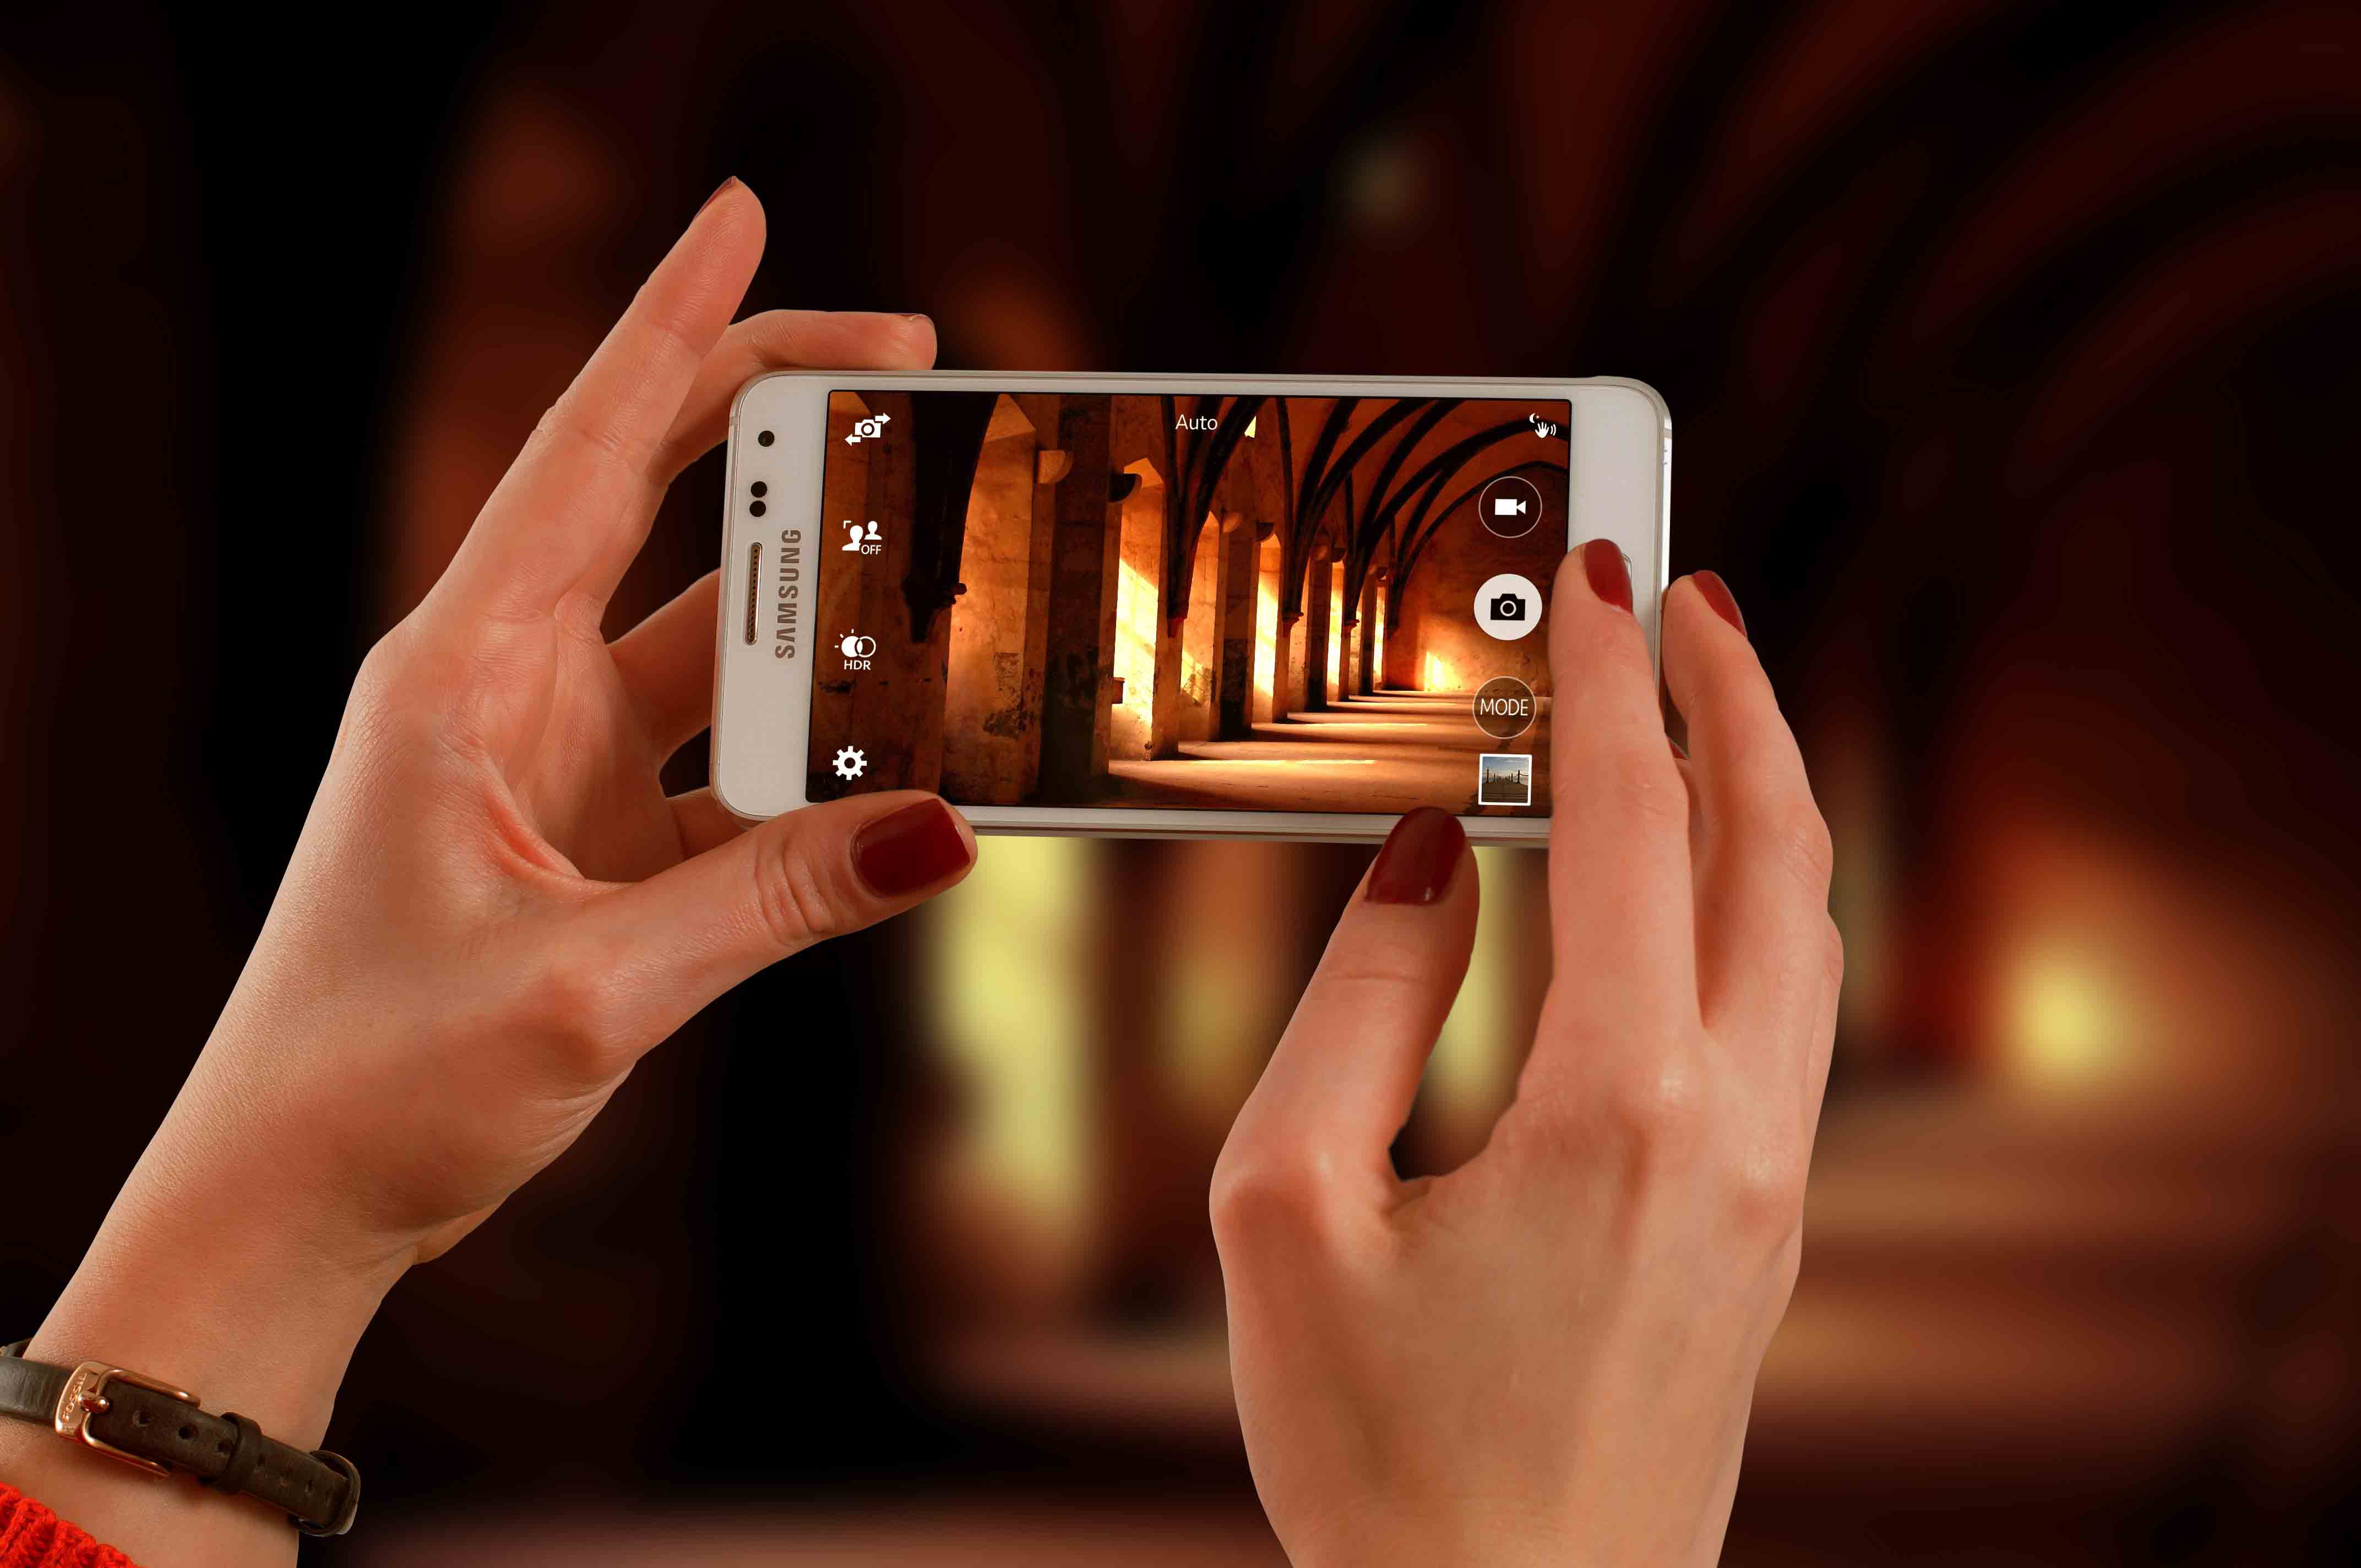
The first thing to do to achieve high-quality photography with your phone is to study the camera settings. Of course, smartphones have different settings, but your camera app should essentially enable you to control the focus and exposure.
Sometimes, simply tapping on the screen to bring your subject into focus will make a huge difference. In addition to the basics, you’re also likely to find settings like White Balance and ISO, which you can tweak depending on the environment to maximize quality and light up your pictures.
If you’re shooting in the bright outdoors, for example, you may want to set your White Balance to Daylight. On the other hand, cranking up the ISO will enable you to take decently-lit pictures in low-light environments.
Some devices offer even more advanced settings, such as manual focus, shutter speed, and flash adjustment. If your smartphone allows for such elaborate freedom, don’t be shy to experiment.
How to Take Better Photos with Smartphone: Watch your light source

One of the biggest challenges that novice photographers, even those with high-end DSLR cameras, face are getting the lighting right. The right amount and quality of light can make faces more radiant, food is more appetizing, and nature more enchanting.
A premium smartphone may do acceptably well regardless of where your light is coming from, but to be sure, avoid taking your pictures when you’re facing your light source. Let the light illuminate your subject, not you, unless you’re going the silhouette way. Once you’ve gotten the hang of front- vs. back-lighting, you can experiment with sidelight and shadows for more creative and textured shots.
Also, try to use the flash as little as possible, even in low light. Some high-end smartphones come with powerful dual-LED flashes whose settings can be adjusted manually to suit the scene, but if yours is a single automatic-type flash, it will likely be too harsh or too dim.
In that case, you’re better off increasing your camera’s exposure or ISO instead or buying an external smartphone-friendly flash like Blair.
Crop, don’t zoom
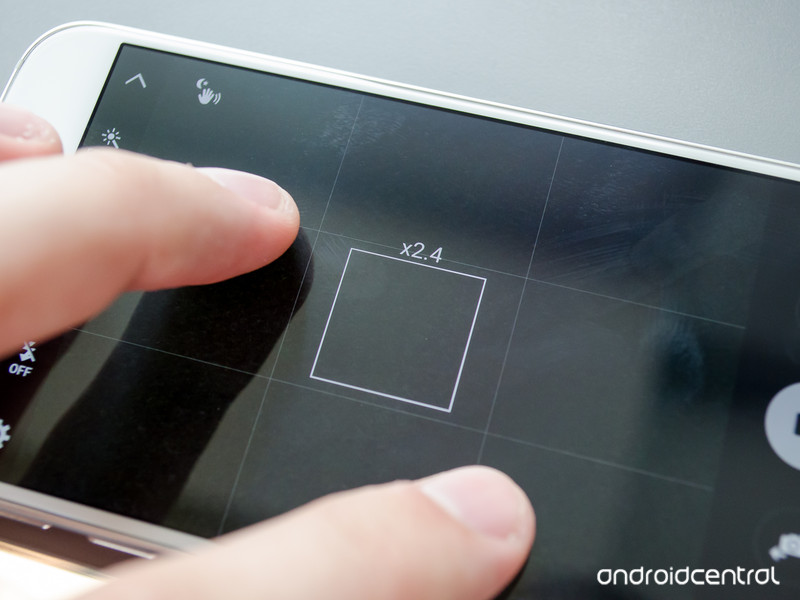
Despite the extraordinary steps that smartphone manufacturers have taken to give DSLR camera makers a run for their money, mobile phones have always been at a disadvantage regarding zooming.
While a DSLR camera has all the room to allow for the mechanical movement of lenses, smartphones have to rely on digital zoom to bring far-away subjects closer. Zooming with the camera app will result in a significant loss of resolution.
Instead, try and get as close as possible before taking the shot, and if background elements can’t seem to let you win, try to crop them out afterward. Cropping always results in better-quality pictures than zooming.
Composition is key
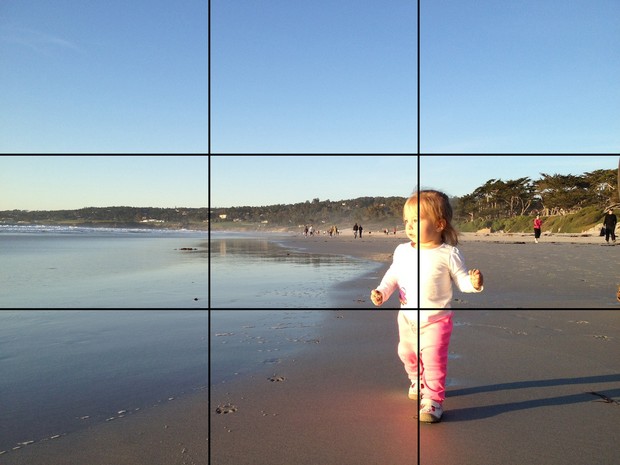
The phrase “it’s not what you have that counts but how you use it” means a lot in the photography world. If you want your images to stand out, even among those taken with the most expensive DSLRs around, your composition should be top-notch.
Some of the best and simplest composition techniques to start with are the Rule of Thirds, Leading Lines, Framing, Symmetry, and Angles. The composition is all about experimenting, so take the time to study your subject and internalize the scene.
Creating composition techniques will make your pictures more interesting by presenting a unique point of view and sometimes even highlighting overlooked details. You may only have a smartphone, but don’t be afraid to crouch, kneel or lie flat on your stomach to get your shot perfectly composed.
Get a tripod
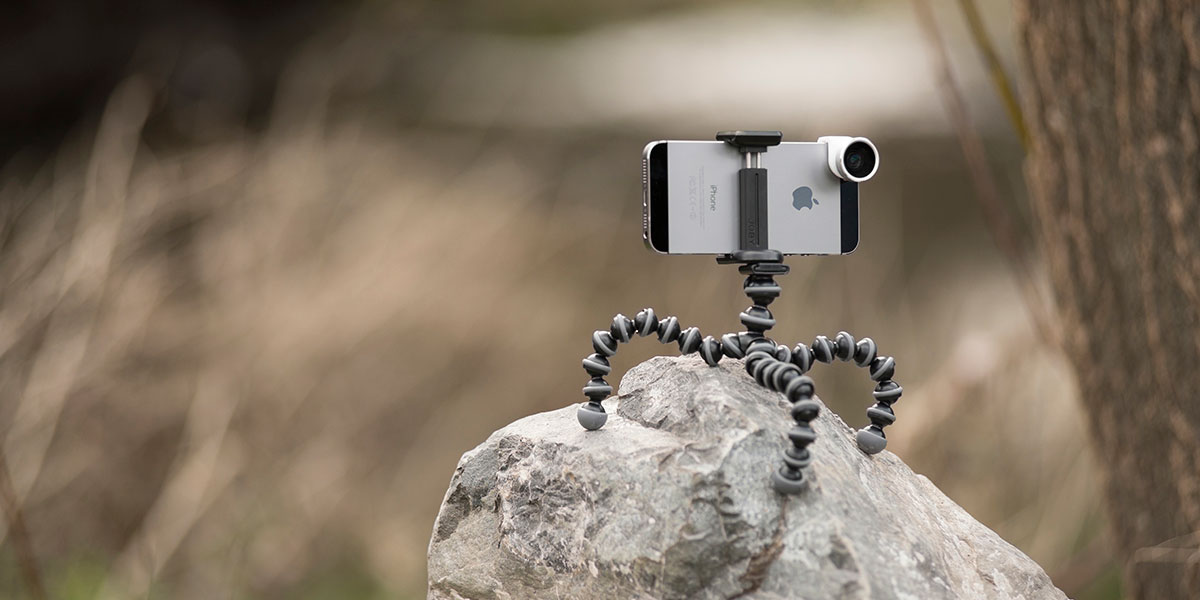
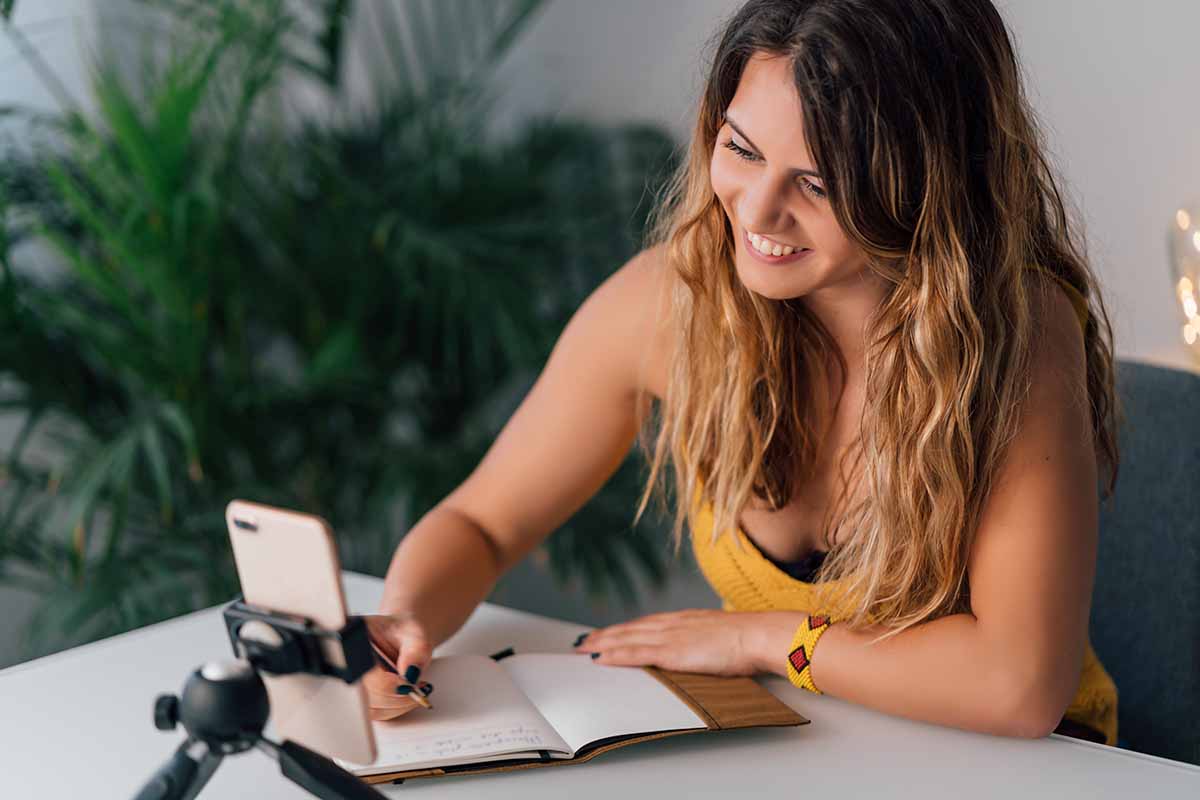
Nothing ruins a good picture other than unwanted blurring. Your smartphone’s image stabilization feature may be enough for those casual images in well-lit environments, but if you want consistent blur-free snaps, go for a mobile tripod.
Keeping a camera perfectly still when taking pictures is key to maximizing clarity when shooting fast-moving subjects or taking long-exposure images with slow shutter speeds. Phone tripods like GorillaPod and LOHA are small, portable, and easy to set up, which means they’re perfect for on-the-go photography.
If you can’t get a tripod, try to find a flat support surface for your phone when you’re taking your pictures. Using both hands instead of one while clicking will also bolster your chances of getting a stable shot.
Make use of Burst Mode

Most smartphone camera apps can now enable you to take multiple shots in an instant. Long-press the shutter button and release it when you’re confident the number of pictures you’ve taken is sufficient.
Some camera apps even allow for some tweaking, so you can set how many photos will be taken in a second. For example, using Burst Mode is tremendously useful when you’re capturing fast-moving subjects or scenes, such as kids or pets, in motion.
Taking twenty pictures instead of one will greatly increase the possibility of snapping at least one clear image of that once-in-a-lifetime moment.
Third-party shooting and editing apps
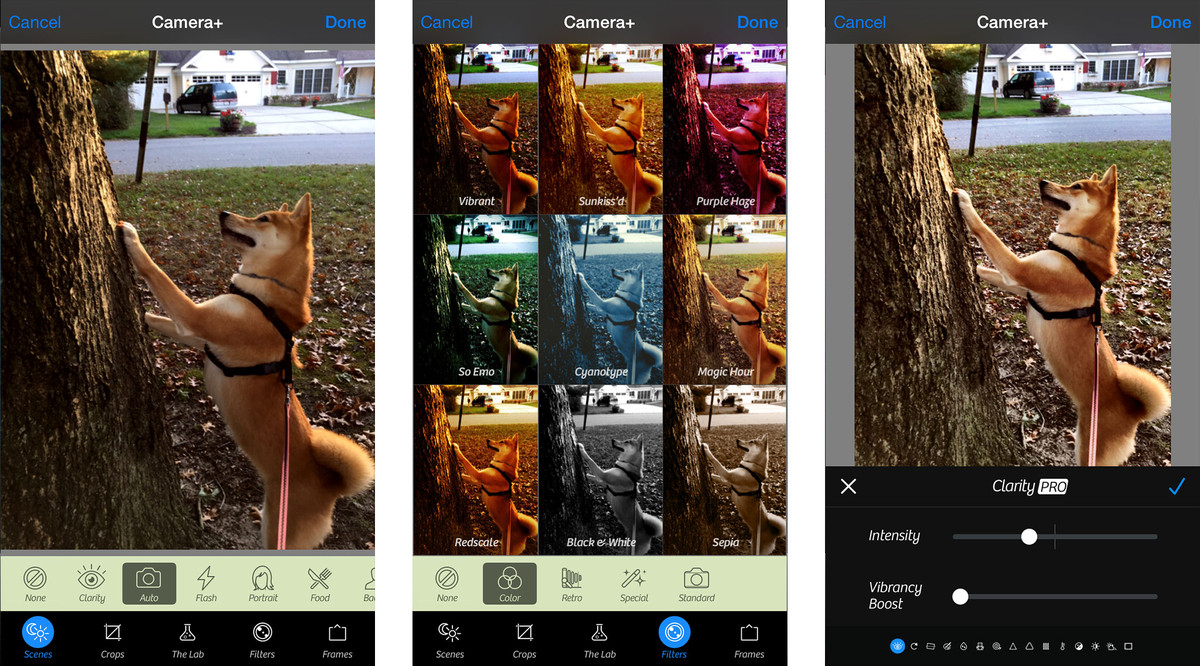
Sometimes there’s only so much in our control when taking a photo with a smartphone. When the camera on your handset can’t seem to get anything right, try a third-party app.
Some, like Camera+ for iPhone and ProCapture Free for Android, come with many additional features and settings, which make the camera more versatile and adaptable.
Moreover, many apps are regularly updated with filters, modes, and options, so you’ll always be getting the best of the smartphone photography world. There’s no need to pay for high-quality editing tools either.
Instasize offers dozens of photo editing options, including professionally designed filters, beauty tools, and even Text Styles which let you add creative text on your photos—all for FREE.
Lastly, before using your pictures, you might want to take one last look and decide if they need any touch-ups. Apps like Photoshop Express (Android, iOS) and Pixlr (Android, iOS) are great for cropping, straightening, rotating, mirroring, light and color adjustment, and red-eye removal.
You can go to Snapseed (Android, iOS) and VSCO (Android, iOS) if you want filters.
Post-processing is as much a skill as photography, so taking your time and learning what works is important. Nevertheless, if you concentrate on making your photos great while shooting, you’ll have a much easier time editing.
How to Take Better Photos with a Smartphone: Conclusion
There you have it! Seven effective tips for taking beautiful photos with your smartphone. Whether you’ve been a phone photographer for a while or you’re just starting, keeping the pointers above in mind will go a long way to giving your pictures the extra sauce they need to stand out.
