House Painting Advice: How to Pain Newly Bought Home
There’s no better way to quickly freshen up an old, tired-looking home than by slapping up a few new coats of paint.
Painting is both affordable and relatively easy to do. So, with that in mind, we’ve put together the following list of tips to help you paint your newly purchased home.
These pointers will help you complete your paint job faster, as well as giving you a clean and professional-looking paint job.
Furthermore, we’ve added a few tips to help you cut down on your clean up time.
Check out foothillspaintingboulder.com for more tips, tricks, and information about interior and exterior painting.
House Painting Advice – Clean and Prep Your Walls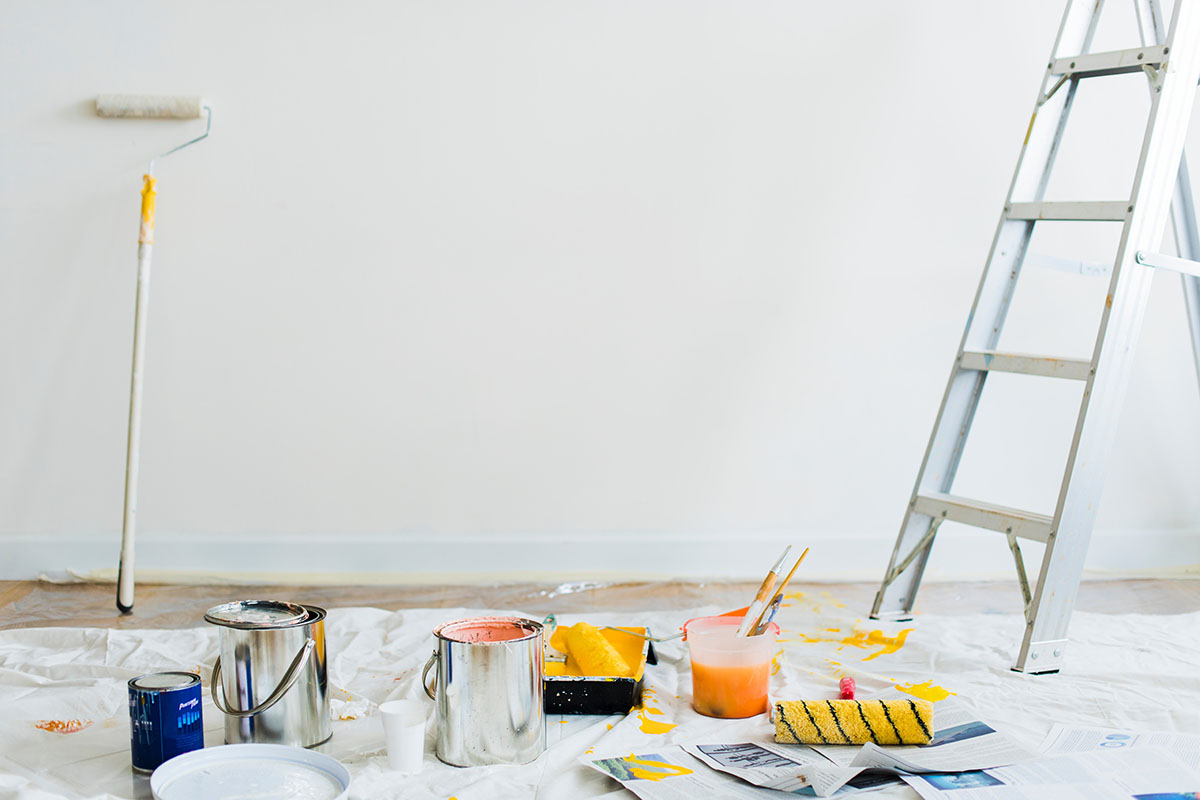
There’s nothing worse than painting a room and then within a few months, you notice the paint starting to bubble or peel away from the wall. But this is what happens when you paint dirty or oily surfaces.
This is because the dirt on the surface prevents the paint from properly adhering to the wall.
So, before getting started, be sure to take some time and clean any dirty walls with a pre-paint cleaning solvent. It’s best to start at the bottom of your walls, and gradually, work your way up toward the ceiling.
Once you’ve cleaned the entire surface, be sure to fill in any dents of holes with plaster and then sand them smooth before applying primer. Don’ forget to quickly sand your trim, which will roughen the surface and further help the paint stick to its surface.
Don’t Forget the Primer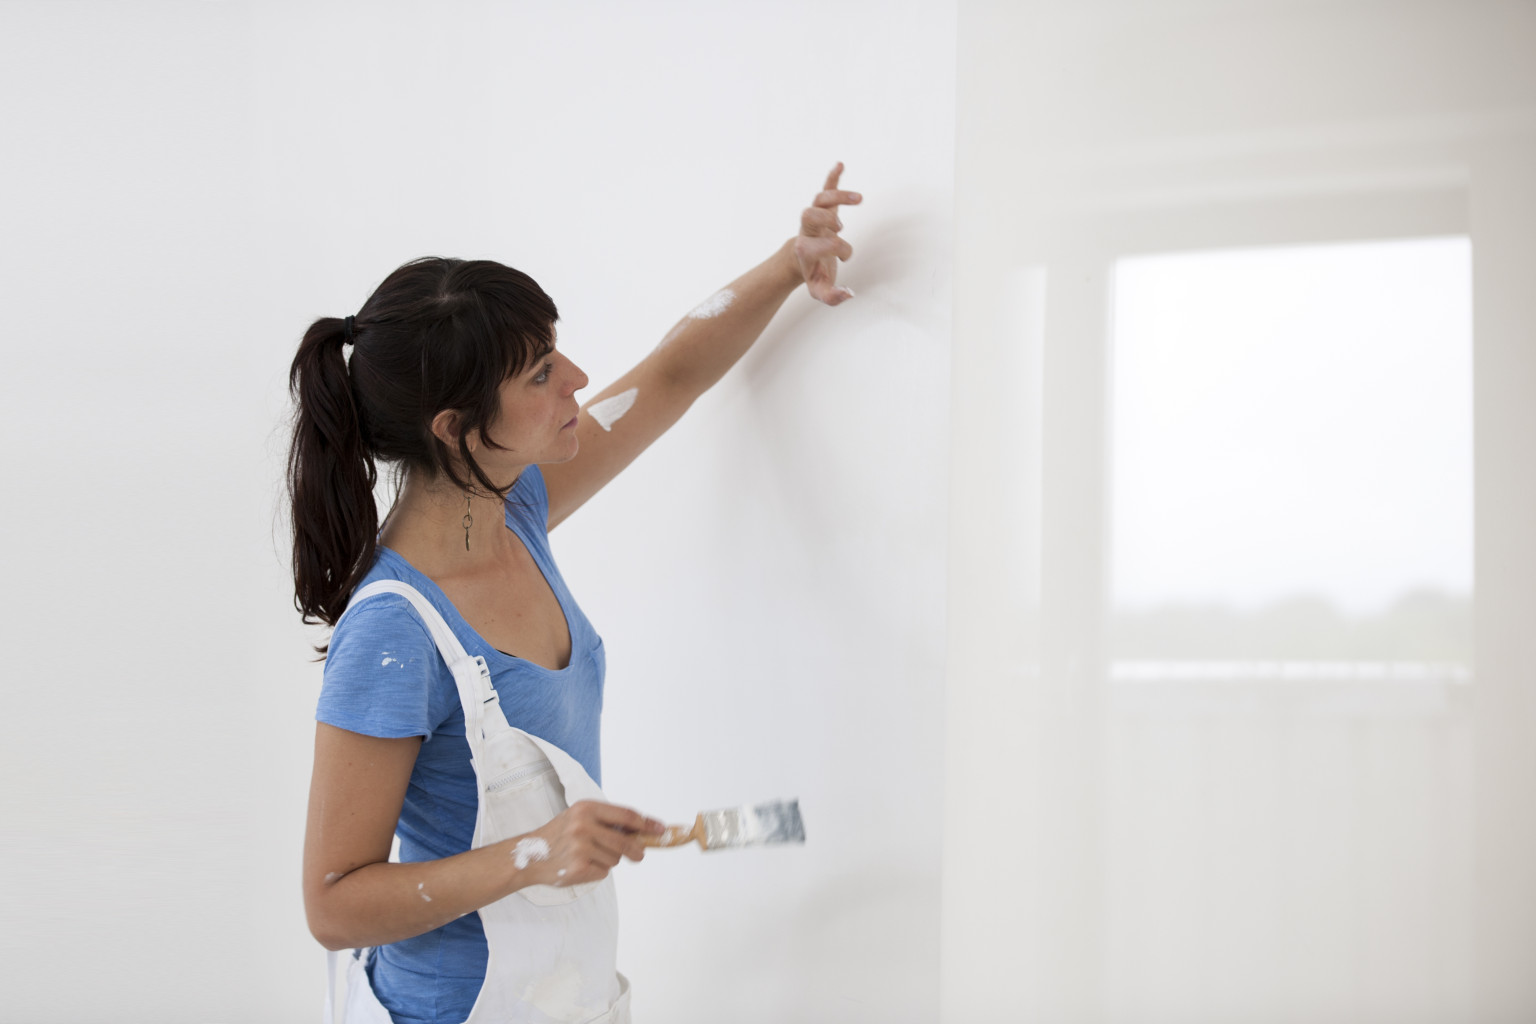
Priming your surface is another essential step which ensures that the paint will properly stick it.
Furthermore, using a primer will also help cover up old paint colors, especially if your room was previously painted a darker shade. In the end, this means that you won’t have to apply as many coats of paint to get the vibrant result that you have in mind.
Learn more about cleaning and prepping your walls here.
Keep Colors Consistent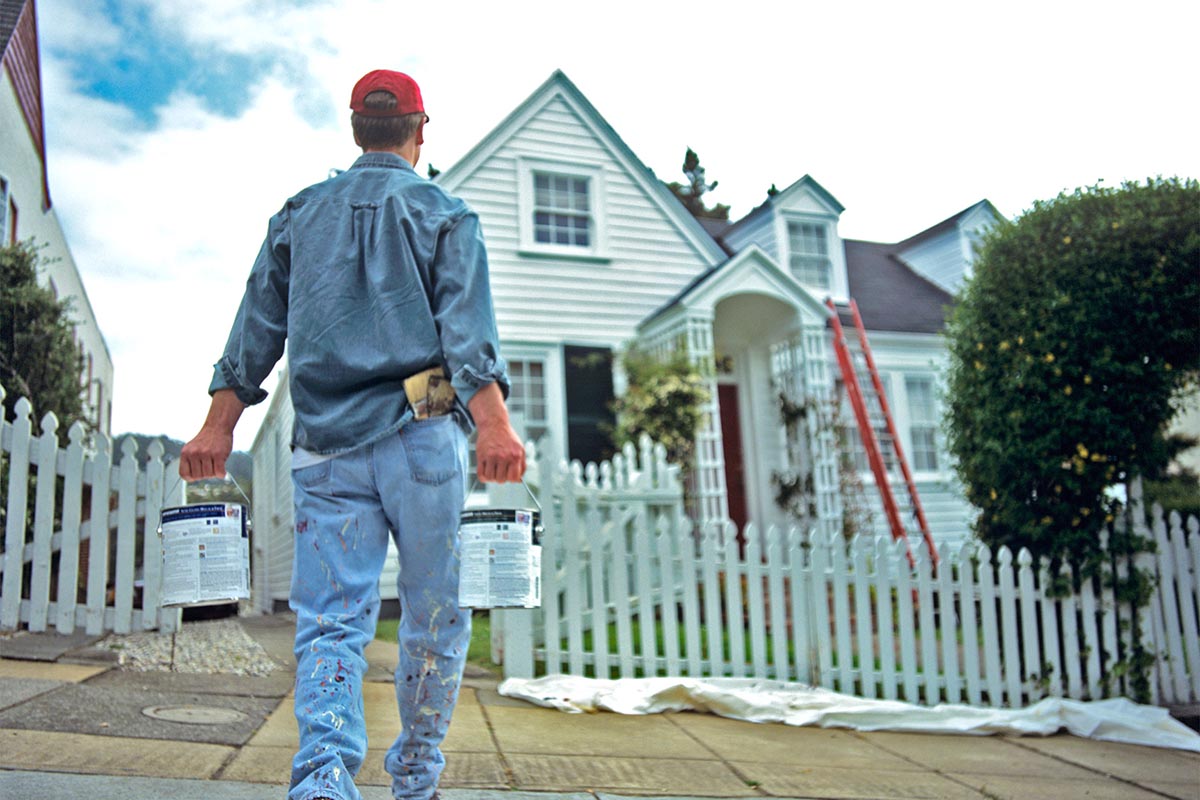
Even if you buy your paint directly from a hardware store, the paint’s color might still vary slightly from one can to another.
Therefore, if you end up needing to open up a new can right when you’re in the middle of painting a wall, you could end up with a noticeable difference in color.
To eliminate this issue, we suggest mixing a couple of cans of the same colored paint in a large, 5-gallon bucket. This ensures that you’ll have enough paint to finish whatever room your working in, and the color will be consistent throughout the entire process.
It might be difficult to judge how much paint to use. Therefore, we recommend mixing more, rather than less. If you end up with more paint than you need, you can simply pour the excess back into the original paint can.
Trim, Ceiling, and Then, Walls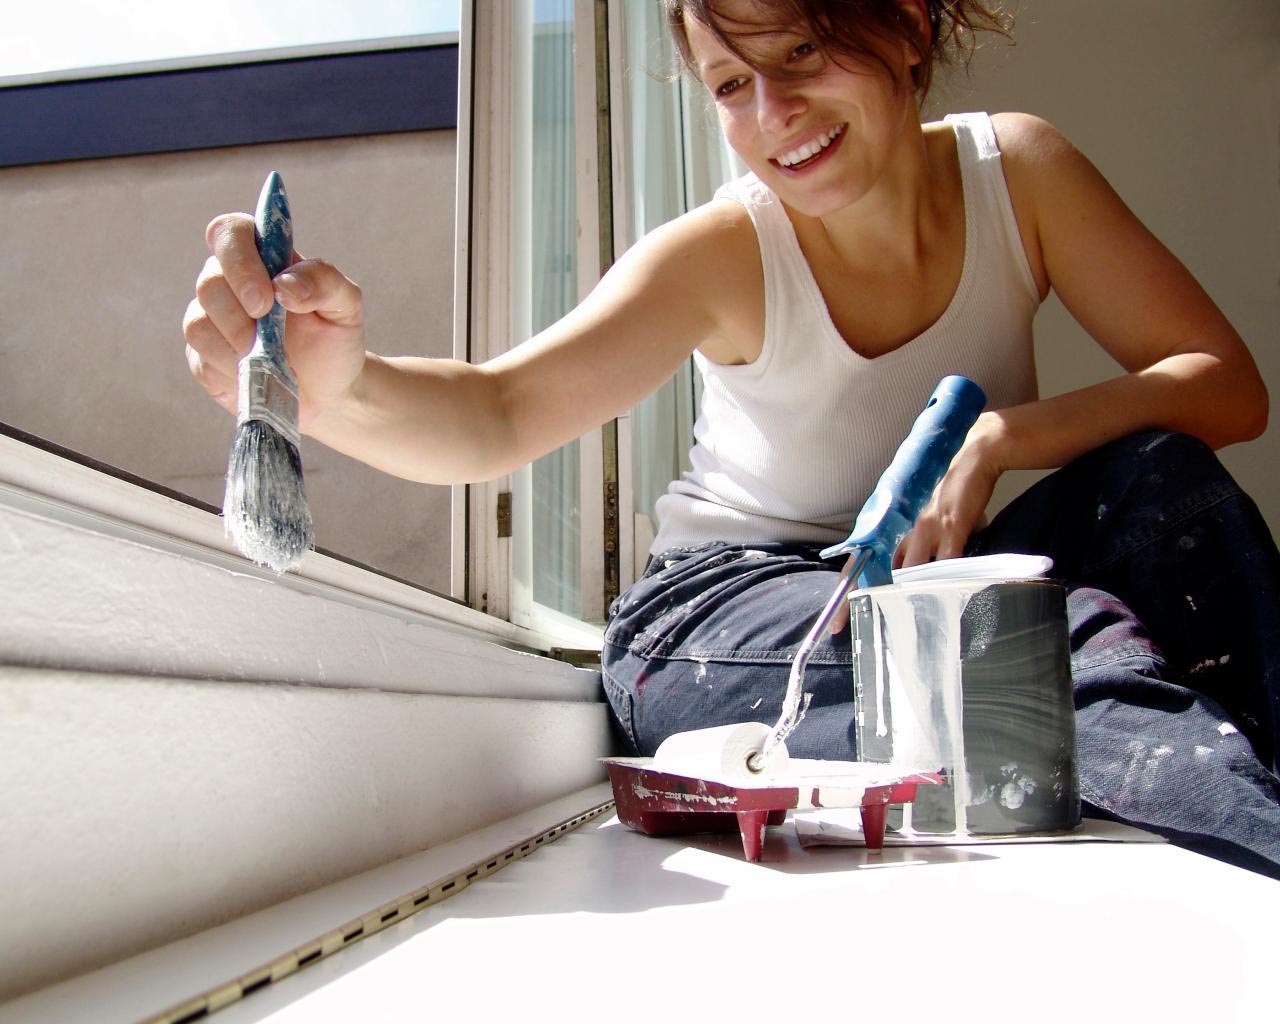
When professionals paint a room, they usually follow a specific order: they start with the trim, then they paint the ceiling, and lastly, they paint the walls. This is because it’s faster and easier to tape the trim, rather than taping the entire wall.
Also, when painting your trim first, you won’t have to worry about being neat near the edges of the walls. Simply focus on getting a smooth finish. Then, once it’s dry, you can tape the trim and get your walls painted, knowing that the trim is already painted and covered up.
House Painting Advice: Use Drop Cloths
When you’re painting, spills and splatters should be expected, no matter how careful you plan on being. And, it’s much easier to pre-plan for a few minor messes, rather than spending time trying to clean paint from your carpets or flooring.
The easiest way to avoid messes is to lay down a drop cloths before starting on your paint project.
Drop cloths are heavy enough that they don’t need to be held down or taped into place, and the surface won’t be slippery to walk on like it would be if you were to use sheets of plastic to protect your floors.
Keep in mind that paint spills still need to be cleaned up as soon as possible to prevent the paint from hardening and sticking to whatever surface it fell on.


