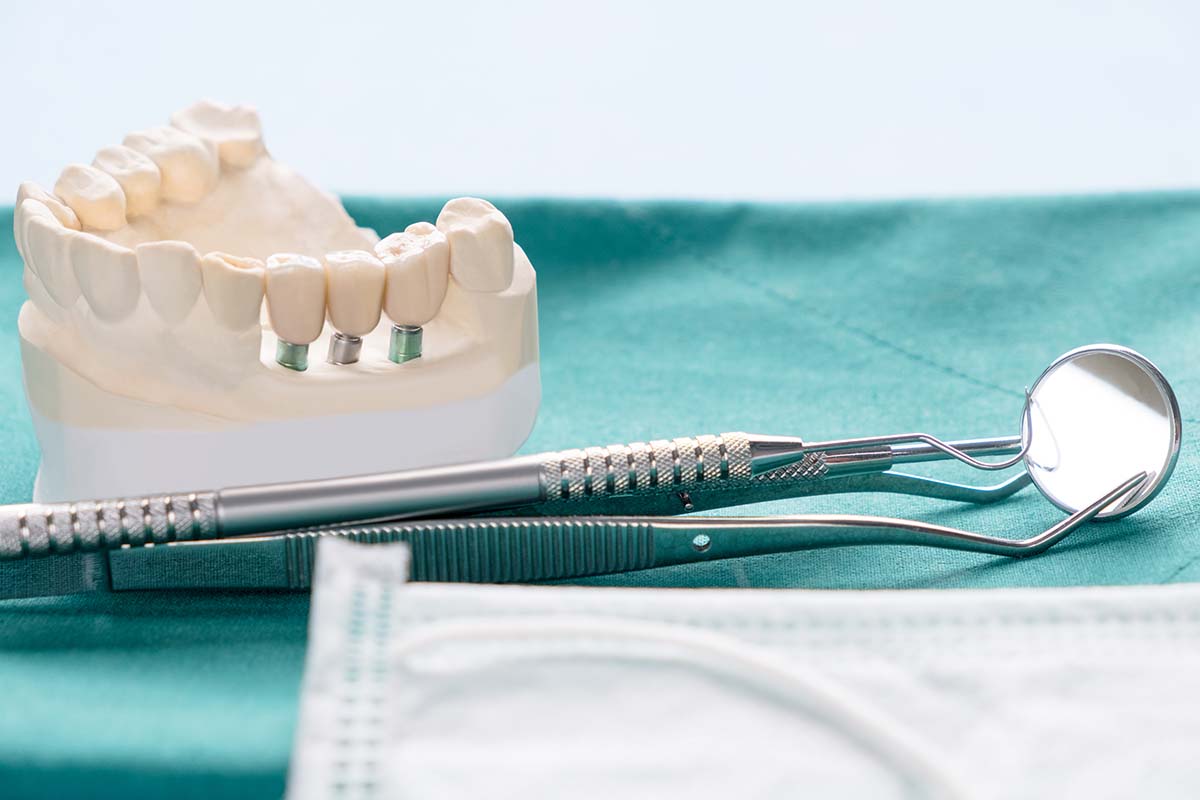
What are Implant-Supported Dentures?
As we age, many of us can begin to lose our teeth. Of the many available dental implants Turkey procedures, implant-supported dentures are safe and effective one time and time again.
Not only are implant-supported dentures designed to mimic natural teeth’ look and feel, but their function. So not only does this help restore your smile, but it’ll also help restore your bite too, as well as prevent your remaining teeth from drifting out of position and negatively affecting your mouth’s structure. If this is something that you’re considering, call the dentist in worcester.
Before we go any further, let’s first establish what dentures and overdentures are. To put it simply, a permanent implant-supported denture is a type of overdenture that’s supported by dental implants placed in the jawbone, and an overdenture is a denture (either complete or partial) that is either attached to an underlying dental implant in the jawbone or sits on top of one.
Overdentures can be removed, as can other types of dentures, although they can also improve retention and function compared to alternatives. Typical dentures are notorious for becoming loose and needing refitting.
Bar-Retained and Ball-Retained Implants
There are two different types of implants; bar-retained implants and ball-retained implants. While regular dentures sit on the gums and can often be attached to the surrounding teeth, implant-supported dentures (as the name would suggest) are supported by implants, which are then connected to the jawbone via a surgically fixed foundation. Your dentist will be able to establish which of the two will be best for you, and they break down as follows:
Bar-retained dentures
With bar-retained dentures, 2 to 5 implants in the jawbone are all attached with a thin metal bar, to which dentures are then attached.
Ball-retained dentures
With ball-retained dentures, small sockets are present on the underside, connecting with small ball-shaped studs on top of the implants.
How the Implant Process Works
Dental implant surgery can be performed by your dental care dentists in many ways, depending on the implant installed and the jawbone condition. Several procedures will typically need to occur each month apart to allow for adequate healing time. During this time, a process known as osseointegration will appear, where the implant will fuse and become one with the surrounding jawbone; this process is vital if the implant succeeds.
In some instances, a bone graft may be necessary. This is to ensure an adequate amount of jawbone mass is available to support the implant; in these cases, the overall length of the procedure will take longer.
On average, though, the procedure can be done in two steps, with around 3 to 6 months between for healing. The implants will be placed during the first surgery, while in the second, they’ll be exposed after the gums have healed. In some instances, the whole procedure can be done in one; however, this is uncommon.
To look at each procedure in more detail, though, we’ll break the two of them down into several steps:
Placing the implants
Step 1
The first step is to anesthetize the patient to have no pain or discomfort during the procedure.
Step 2
Once the patient is under the anesthetic spell, an incision will need to be made to the area of the gum where the implant will be installed.
Step 3
Next, a hole will be drilled into the jawbone beneath the incision, into which the implant can be placed.
Step 4
For the 4th and final step of the procedure, the implant will be screwed tight into the hole before the area is stitched back up.
As previously mentioned, there’ll then be a period of healing over several months before the second surgery can occur. During this time, any potential pressure on the implants must be avoided.
Exposing the implants
After 3 to 6 months, the implants should’ve fully fused with the surrounding jawbone and gum tissues, so now it’s time to expose them. Again, we’ll break this down into 4 steps:
Step 1
The first step is to take an X-ray of the area to determine whether the implant has properly fused with the surrounding tissues. Once it’s been established that it has, then the second surgery can go ahead.
Step 2
As before, anesthesia will be administered to the area to ensure that no pain or discomfort will be felt during the procedure.
Step 3
Once the surgery can get underway, incisions will be made in the gum to expose the top of the implants.
Step 4
Finally, a special healing cap will be placed on top of each implant. This will help the gum tissue heal properly and need to be in place for up to 2 weeks. After that, an abutment can be placed on top.
Inserting the denture
There’s one more step to the procedure, and that’s inserting the denture. The dental surgeon will attach either the bar or ball fixtures to the implants before attaching the custom made denture on top.
Taking Care of Your Implant-Supported Dentures
Now that you’ve got a gleaming new set of implant-supported dentures, you must do everything you can to take good care of them. Ultimately, it would help if you treated them no differently from how you would your normal teeth, being sure to brush them twice a day, floss, and regularly use mouthwash, along with the following:
— Give your dentures a good rinse before brushing to ensure any loose food particles are removed;
— Be sure to clean around the attachments carefully;
— When brushing your teeth, do so with a soft-bristled toothbrush, and use a non-abrasive cleanser to ensure they don’t get scratched;
— Make sure that you’re putting your dentures in water when not wearing them to ensure they don’t become warped;
— Always remember to maintain a good level of oral hygiene, and make sure you’re cleaning your mouth thoroughly.


