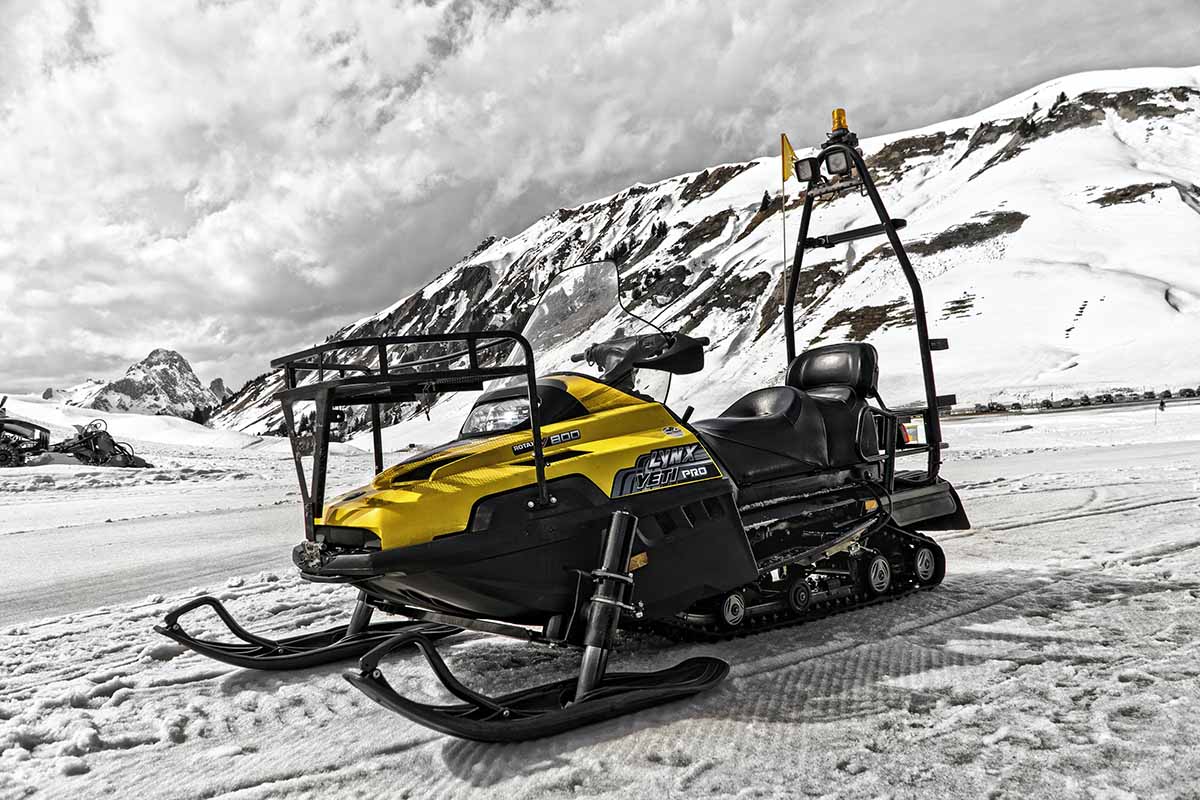
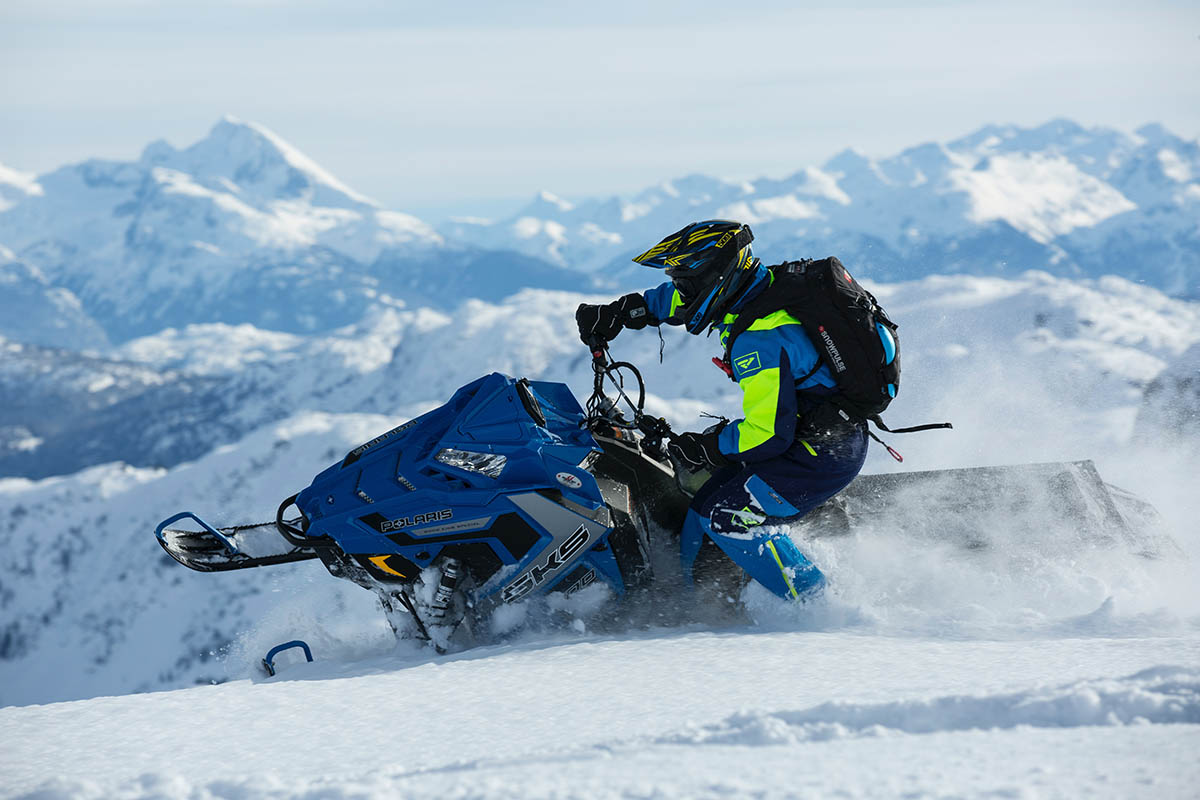
Few things are as exhilarating as heading out for a winter ride on a snowmobile. Whether riding snowmobiles to get around or just hitting the trails on the weekend, they can make the ride even more fun by adding stylish decals to their machines.
Snowmobile Stylish Decals: What Are Snowmobile Decals?
Most people associated decals with summer ORVs, but it’s becoming increasingly common to see riders apply decals for snowmobiles, as well. The two products are very similar. All ORV decals are graphics that can be applied to some or all of the plastic parts of a vehicle’s body and, when applied correctly, they’ll all create a stunning effect.
Why Apply Decals?
Decals give snowmobiles one-of-a-kind looks. Riders can choose graphics that reflect their style and personality, showing them off as a way to turn heads without having to spend a fortune on expensive snowmobile mods. Decals also add an extra layer of protection for the snowmobile’s plastic, which will help riders avoid premature wear and tear and maintain the resale value of their machines.
How to Apply Snowmobile Decals
Applying snowmobile decals is easy. Once riders find a well-respe cted vendor and choose decals that will fit both their sense of style and their machines, they can wait for the graphics to arrive and then follow these steps:
Step One: Clean the Plastic
Ideally, snowmobile riders should keep their machines clean and free from dirt and debris all the time. However, this cleaning will need to go beyond the basics. Be sure to get rid of tough, stuck-on dirt by washing the plastic with soapy water, removing any existing graphics, and using rubbing alcohol or another adhesive remover to get rid of any residues left behind. Just keep in mind that the plastic will need to dry before the new decals can be applied, so perform this first step in advance.
Step Two: Apply the New Graphics
The first thing to do when the graphics arrive is check them to ensure they all fit correctly. If the order isn’t proper, riders will want to figure that out immediately, not after they’ve already started applying the new decals. After lining them all up in a trial run, it’s time to start peeling off the backings and using them to the plastic.
Riders applying graphics for the first time may want to start with a smaller one or focus on a decal on a flatter part of their snowmobiles to get the hang of it, but the process isn’t hard. Just peel off the backing, then apply the sticker to the plastic. Press it in place starting from the center and moving outward to remove air bubbles and avoid wrinkles, then use a hair dryer to heat treat it and help the adhesive set.
Step Three: Wait a Day
No matter how tempting it may be to hit the trails and show off those new graphics, riders need to wait a day or so for the adhesive to cure before they take their snowmobiles out. Waiting will help to avoid common problems like curling edges and will help to ensure that the decals look good for years to come.
Snowmobile Stylish Decals: Get Started Today
The first step in applying new graphics to a snowmobile is also fun. Start checking out designs and find decals that fit both the machine’s make and model and the rider’s style online and place an order to get started.


